
The short answer
Listen to each guitar microphone separately, then combine the same performance at the intended balance. If the hollow tone appears in the blend, differences in sound arrival time may be causing cancellation. Compare the blend in mono, test polarity on one channel and adjust placement or balance while checking the whole passage.
Keep these in mind
- Compare the same recorded passage with mic one, mic two and both together.
- Check a suspect blend before applying EQ to the combined sound.
- Verify a change through several chords and in the intended stereo position.
Does the hollow sound come from one microphone or their blend?
Choose a short recording with the player holding position and using the same pattern. Listen to mic one, mic two and then both at the intended balance. Keep your monitor level steady and turn the combined signal down if the extra level makes the comparison misleading. Note whether the missing body is already present on either solo microphone.
If one microphone sounds thin by itself, investigate its placement, angle and room sound. If both are useful alone but the combination becomes hollow or nasal, focus on how the signals interact. Shure’s microphone guide explains that the same sound reaching two microphones at different times can create peaks and dips when the signals combine. That gives you a reason to test the blend before boosting a missing range.
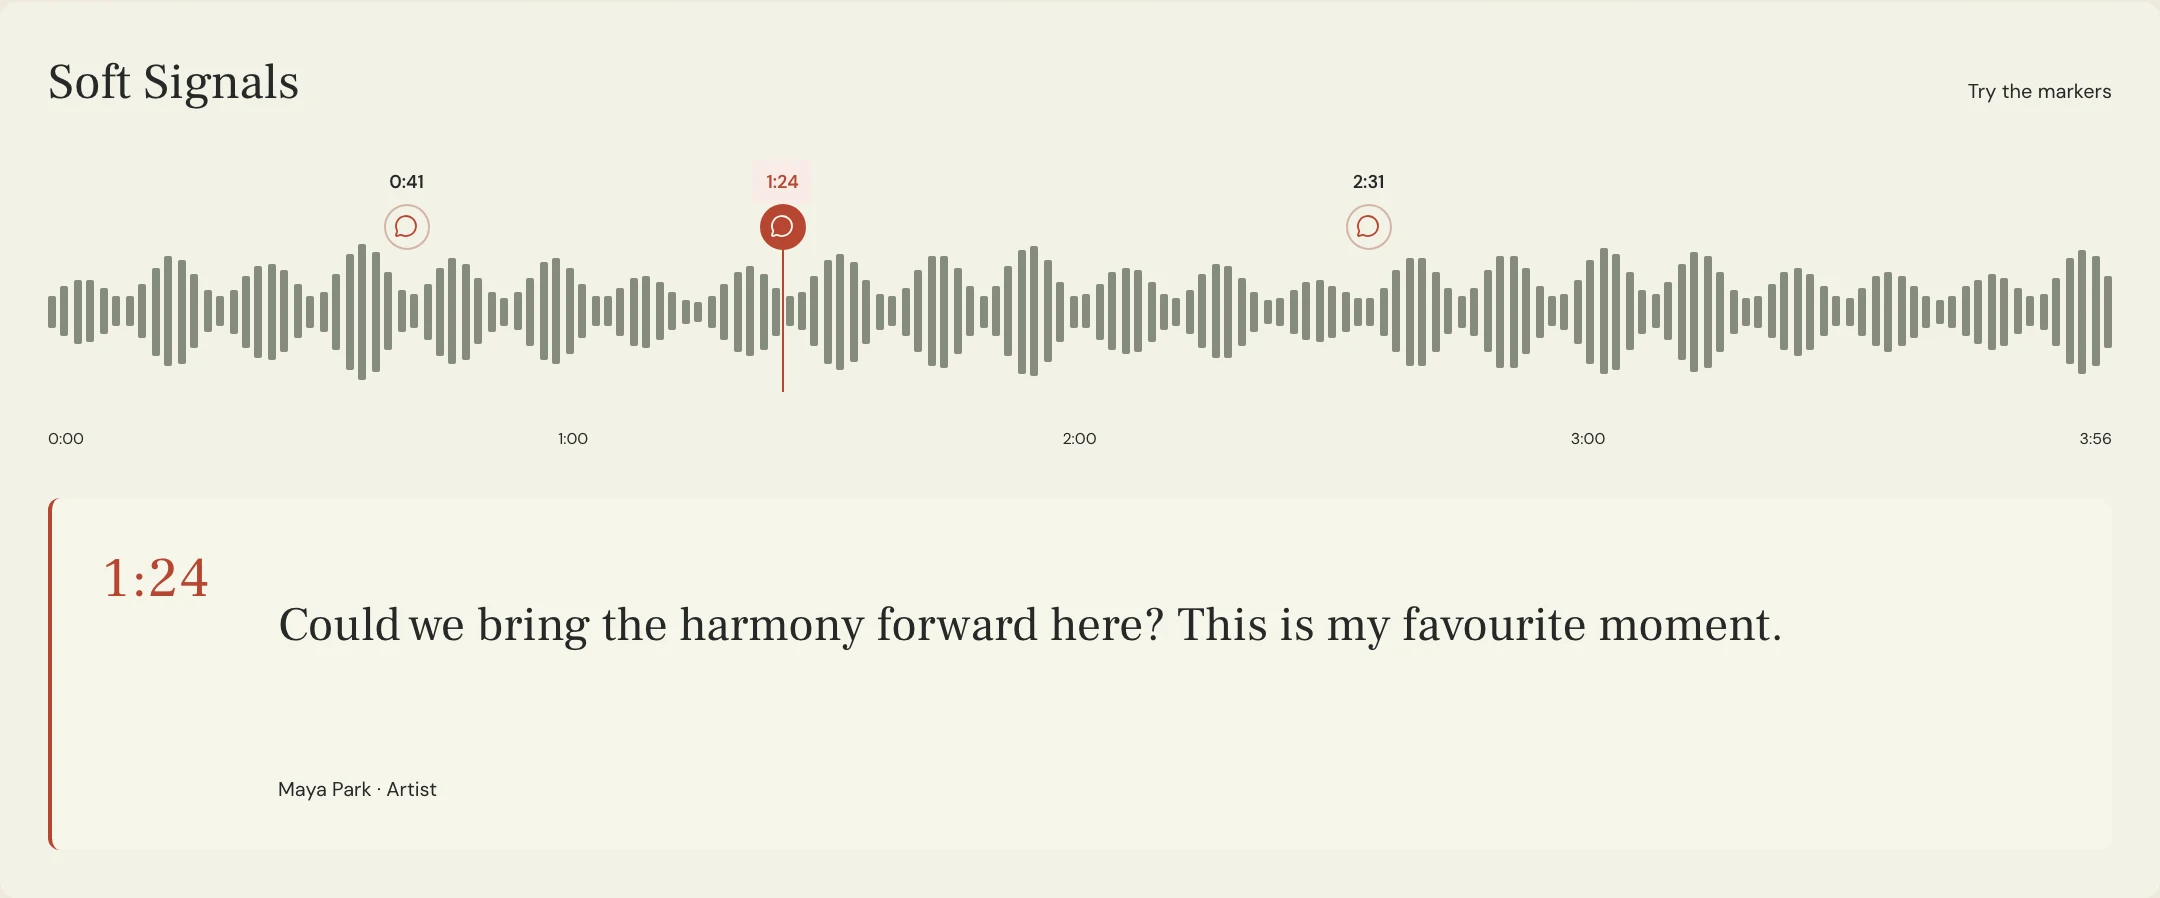
What can the mono and polarity tests tell you?
Bring the two microphone signals to the center for a listening test. Compare the individual microphones with their sum, then try reversing polarity on one channel. Listen for a clearer body and attack across the passage. A polarity change can improve some of the combined sound. Differences in arrival time affect frequencies differently, so keep listening through several chords and strums.
Restore the intended pan positions and compare stereo with a mono fold-down. Yamaha’s stereo recording guide explains how arrival-time differences can affect the tone when a pair is summed. DPA describes how spaced and coincident microphone arrangements create stereo information. Decide whether you are using the pair for a broad stereo image or combining two tones into one place in the mix.
| Listen to | What you are checking | Next test |
|---|---|---|
| Mic one and mic two separately | Whether either microphone already lacks the wanted body | Placement, angle and room contribution |
| Both microphones centered | A tonal change that appears as the signals combine | Balance and polarity comparison |
| Intended stereo blend, then mono | What the pair contributes in its final position | Keep the width and tone that serve the arrangement |
| Several chords and attacks | Whether an improvement lasts beyond one moment | Save the setup and record a short confirmation |
What should you change while the microphones are still set up?
Move one microphone a little and make another short recording with the player in the same position. Keep the other microphone and the blend balance steady so you can hear what that movement changed. Check the individual tone as well as the combined signal. Ask the player to include a sustained chord, a stronger attack and the passage that exposed the original problem.
Constructed example for the fictional Soft Signals track Lantern. A microphone near the neck gives a clear pick sound and another closer to the body adds warmth. Together, the open chords sound hollow. The engineer moves the body microphone and records the same four bars again. The new blend keeps the pick detail and more of the chord body, including when checked in mono.
What can you try when the recording is already finished?
Keep the original tracks and compare a lower level from one mic, a polarity change, or a version using the stronger microphone alone. If you test a timing adjustment, do it on a copy and compare more than one passage. Aligning one waveform peak is a starting observation. Check the audible tone, room character and stereo placement over the performance before keeping the edit.
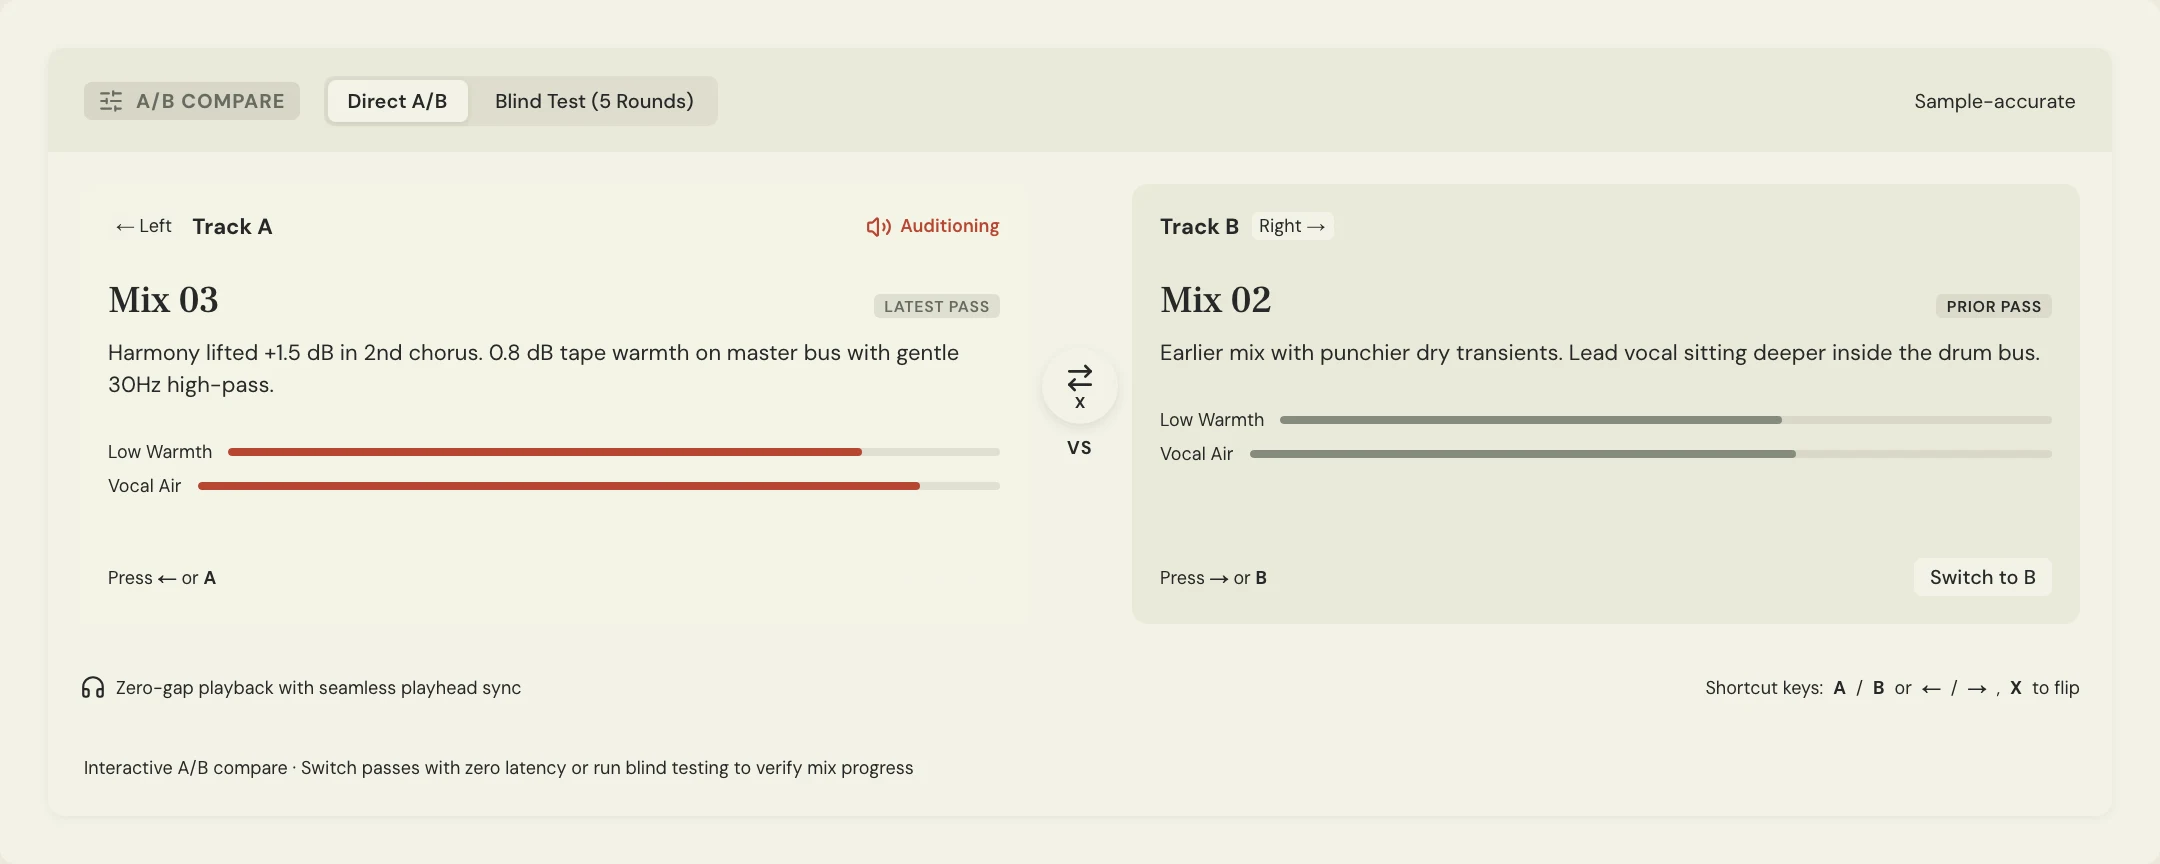
Create named listening passes for the original and the proposed blend. Use MixPass A/B to compare the same phrase and leave a note on the chord that revealed the problem. Once the guitar works in the song, run the broader mono check on the mix and confirm the chosen pass with the engineer.
A few more things
Common questions
Will reversing polarity always solve the hollow tone?
Compare it as one test. Keep the setting only if it improves the needed tone through the passage and in the intended blend.
Should I line up the waveforms exactly?
Preserve the original and audition any adjustment across several musical events. Check how it changes both tone and the stereo image.
What if each microphone sounds bad alone?
Revisit the individual placement and room pickup first. The combination may be carrying a problem already present in each signal.
Can I use only one microphone in the final mix?
Yes. Compare the useful single-mic tone with the blend in the arrangement and choose the version that serves the guitar’s role.
Further reading
Technical background from the original sources referenced in this guide.
Your next pass
Give the song a shared home.
Keep the versions, lyrics, feedback, and people together in MixPass.
Building an upcoming single or EP? Apply for the Founding Testers Program for 3 months of Pro free in exchange for feedback (50 early seats).