
The short answer
To check a mix export for clipping, listen to the exact file at the problem timestamp and compare it with the same passage in the session. Check the source take, processing stages, output and export separately. A lower peak reading after turning the file down cannot tell you whether distortion was already printed.
Keep these in mind
- Find the first point where the unwanted sound appears.
- Compare the render and session at a similar listening level.
- Confirm the replacement export at the same passage and at the loudest sections.
What should you check in the actual exported file?
Start with the file that produced the complaint. Note its exact name and play the passage in a reliable editor or player at a comfortable level. If importing into a DAW, use a fresh track without unintended processing or time stretching. Listen for the specific event, such as a gritty edge on the word “stay,” and write down the first and last timestamps where you hear it.
Check the exported file’s sample and true-peak readings where appropriate. A sample meter looks at stored samples. A true-peak meter estimates peaks between them. These help identify overload risk, but neither tells you by itself where an audible artifact started. A file can measure below full scale and still contain distortion printed at an earlier stage. Compare what you hear with the corresponding session passage.
How can you find the stage that introduced the distortion?
If the artifact is in the session too, start with the original recorded sound before processing. If the grit is baked into the take, turning down the track changes how loud you hear it but does not restore the original peaks. Compare another take when one exists. If the source sounds clean, check before and after the likely processor or bus. Match listening levels so a quieter test does not merely hide the symptom.
iZotope’s gain-staging demonstration shows that an internal floating-point level can exceed full scale without immediately truncating the signal, while an overloaded fixed-point render can print distortion. It also shows why a downstream fader cannot undo distortion generated inside an upstream plug-in. Use the meter to narrow the investigation, then listen at the earliest point where the suspect sound is present. Preserve intentional saturation when testing.
| Where the sound first appears | What to test next |
|---|---|
| Original recording | Compare an earlier take or another microphone before changing the mix bus |
| After one processor | Check its input and output, then compare a level-matched test with that stage bypassed |
| In the render only | Inspect the render path, output level and export settings, then make a controlled second print |
| Only in one player | Compare the same file elsewhere and check volume, playback processing and decoding before requesting a new mix |
What does a useful clipping report sound like?
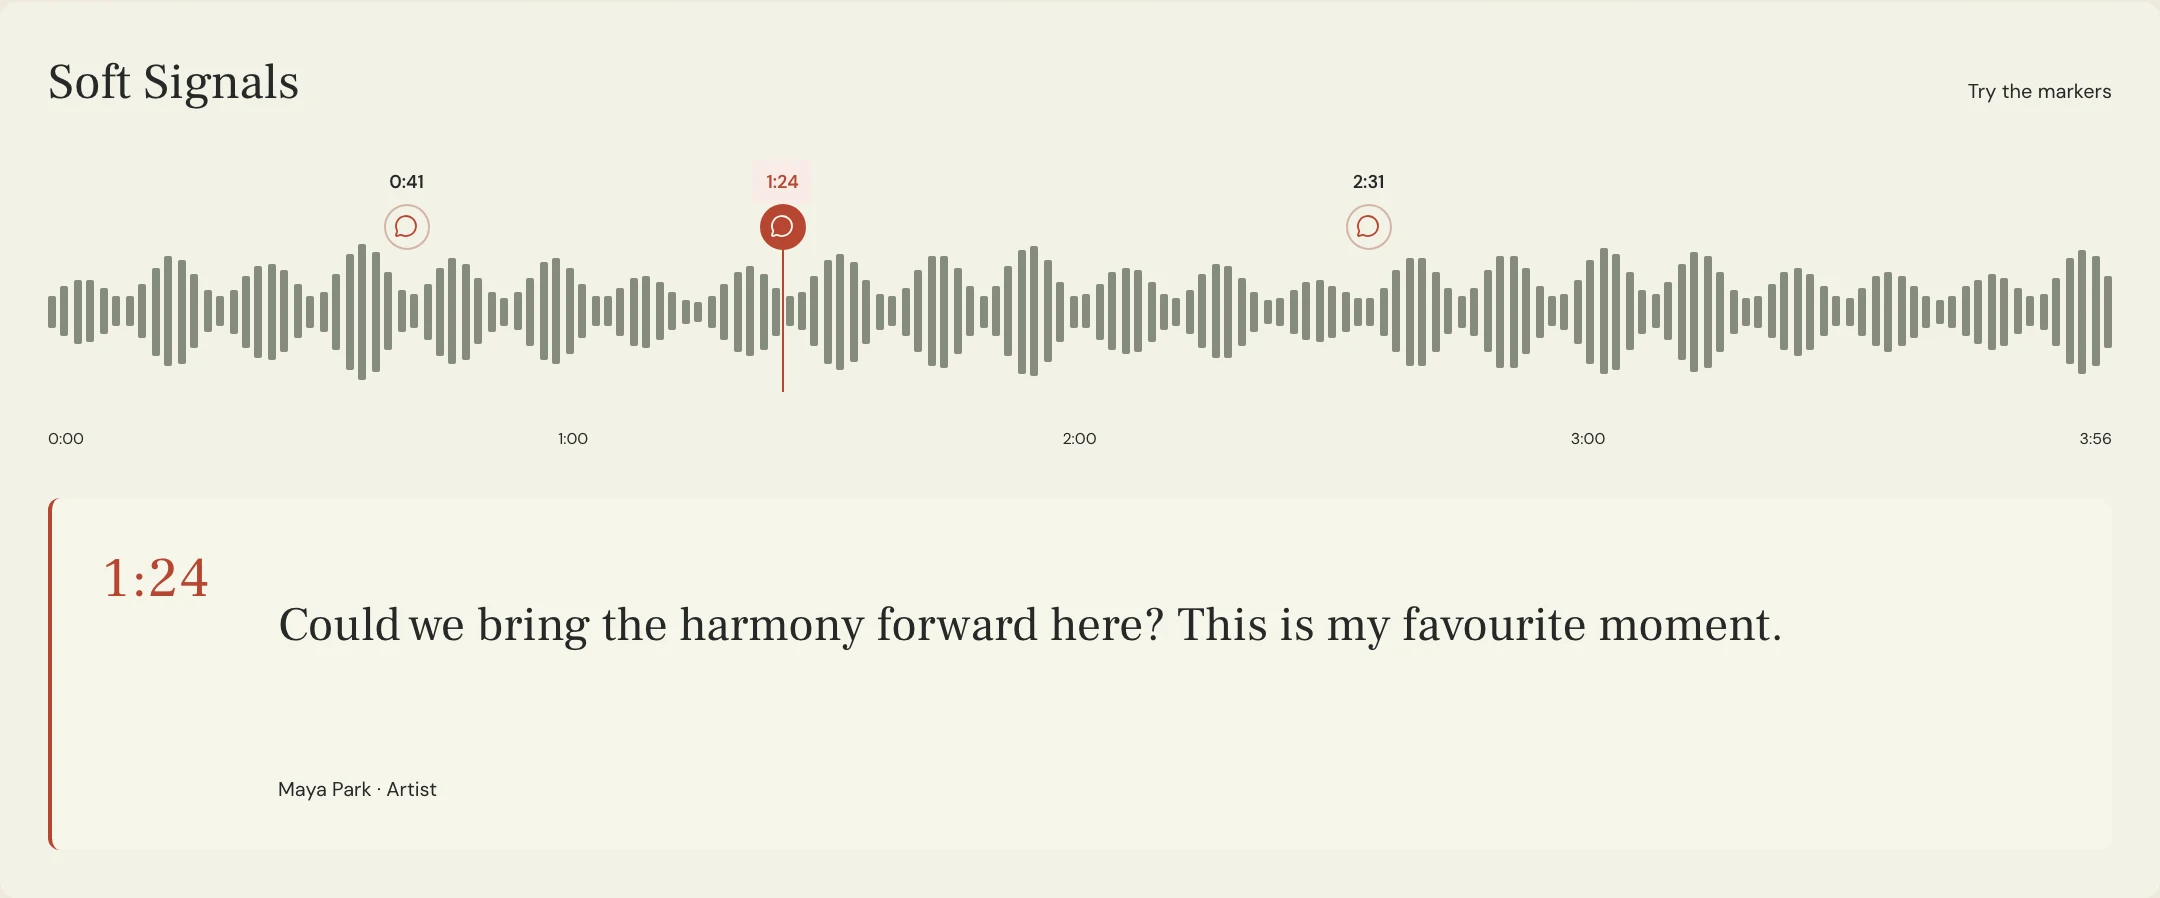
Constructed example: on the fictional Soft Signals song Lantern, a crackle appears on a loud syllable around 1:19 in Mix 08. The dry take is clean in this scenario. The engineer listens before and after the vocal saturator and finds that the crackle appears at its output. Reducing the final bounce volume makes the crackle quieter but keeps it audible at matched listening level.
The engineer trims the input into that processor, adjusts the output to compare fairly and renders Mix 09. A useful note asks to lose the crackle on that word while preserving the chorus texture. It specifies the version and timestamp, then requests a replacement render for listening. This makes the repair testable without assuming every sound someone calls clipping has the same cause.
What should you verify before approving the replacement?
Open the new export itself. Revisit the problem passage at comparable playback level, then listen to other loud passages and the joins around any edit. Check output and delivery format against the receiving engineer’s requirements. If a compressed listening copy is the only file that distorts, investigate that copy separately and confirm the original delivery file before changing the mix.
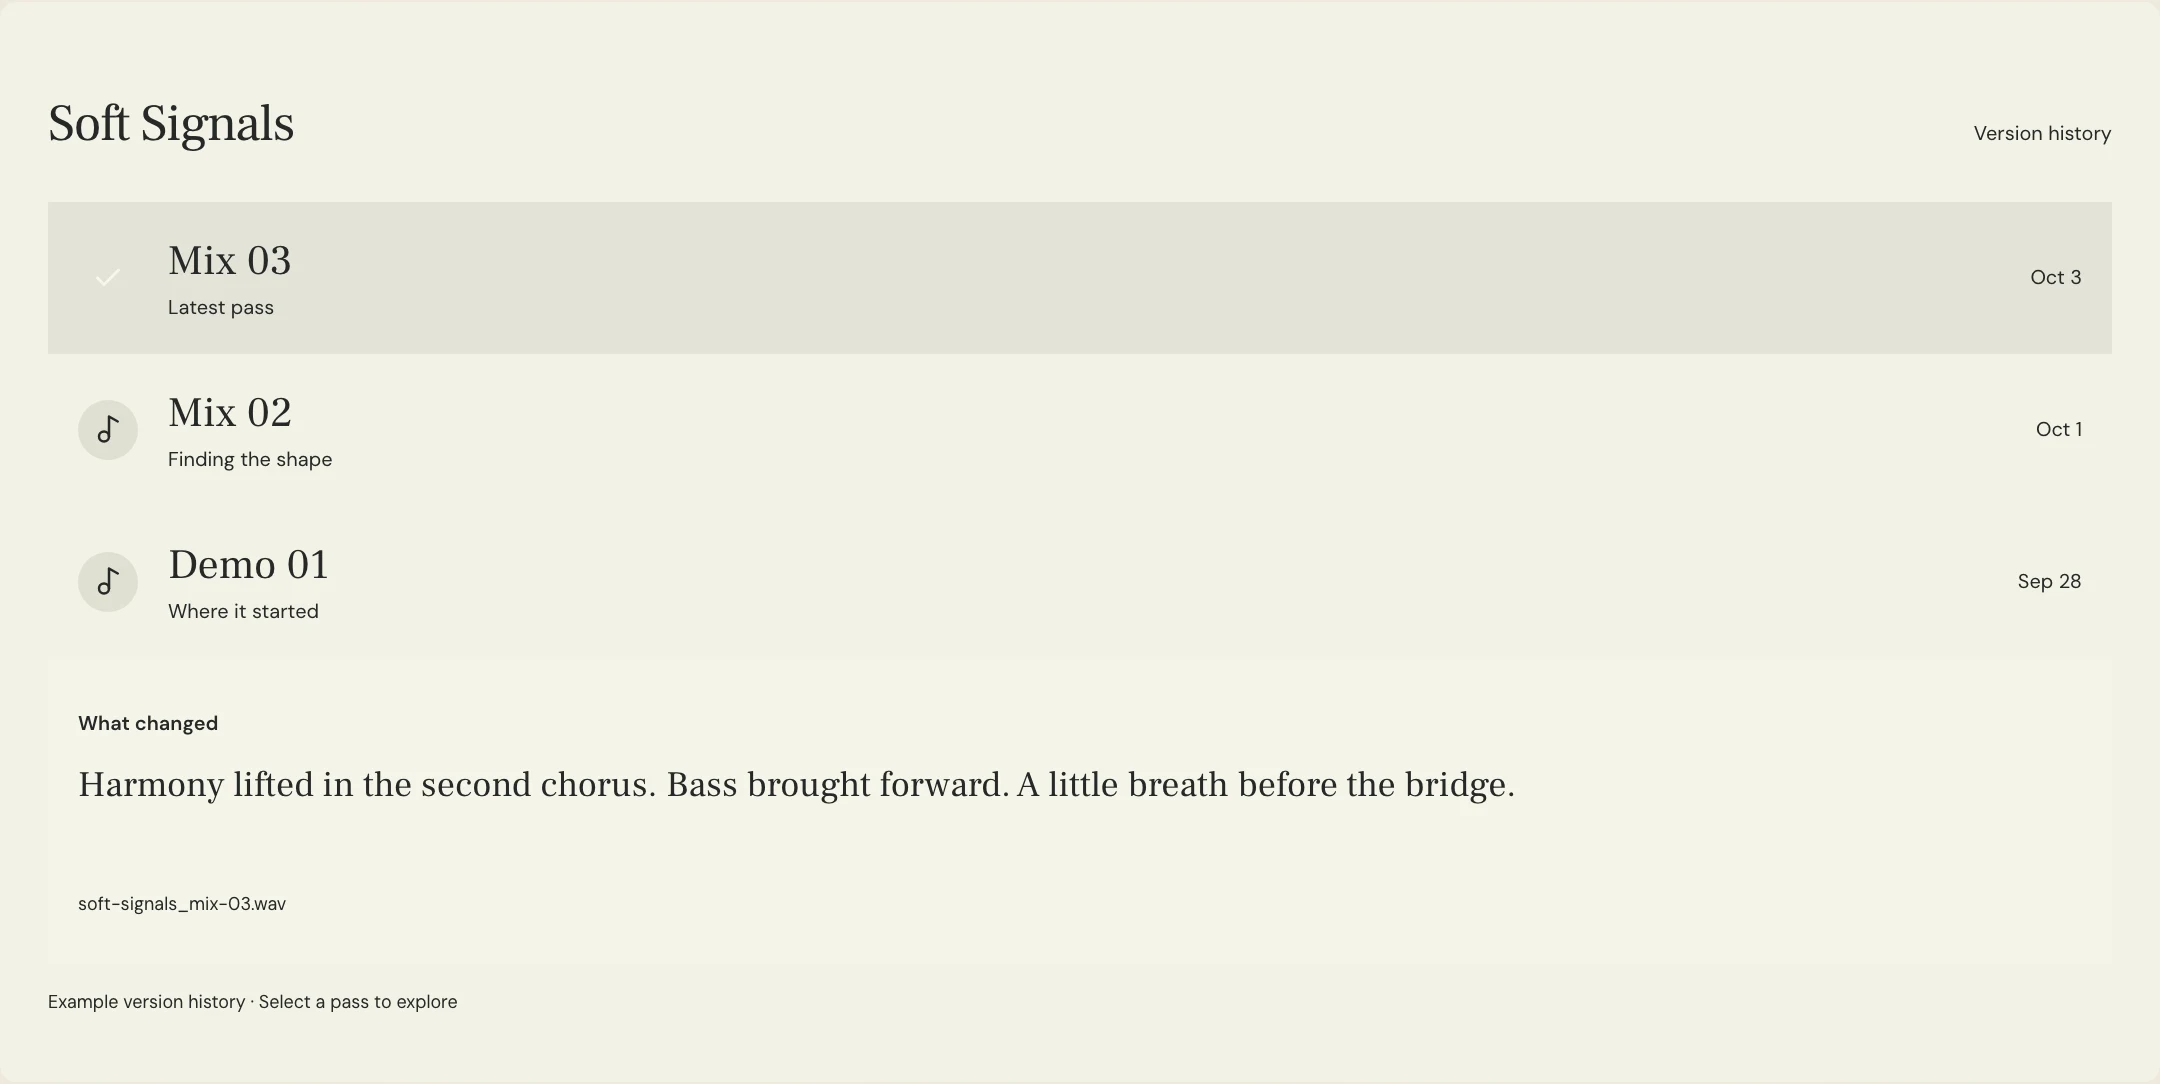
Record the result against the named pass in MixPass. When the final file differs from the listening pass, identify which exact export was checked. Keep the old pass available for comparison where appropriate. The listener should be able to tell what changed, where it was checked, and which file is cleared for the next handoff.
A few more things
Common questions
Is a red meter proof the file is clipped?
Check where that meter is placed and whether the signal crosses into a stage that clips. Listen to the rendered file as well.
Can I fix a clipped WAV just by turning it down?
Turning a fixed-point file down after clipping reduces its level. It cannot restore peaks already lost. Re-export from a clean upstream source where possible.
Will exporting in 32-bit float remove distortion from the recording?
A floating-point format can preserve over-range samples from a compatible clean render path. It cannot reverse distortion already printed into a take or introduced by processing.
What if the crunch is deliberate?
Confirm the creative decision with the artist. Listen for unexpected changes around the intended sound and document what you want to preserve.
Further reading
Technical background from the original sources referenced in this guide.
Your next pass
Give the song a shared home.
Keep the versions, lyrics, feedback, and people together in MixPass.
Building an upcoming single or EP? Apply for the Founding Testers Program for 3 months of Pro free in exchange for feedback (50 early seats).